Bread has a way of being more than just food. It tells stories, connects generations, and evokes memories. As a food enthusiast and registered dietitian, I often reflect on the power of a humble loaf of bread.
Today, I want to share my journey with a traditional dish: Simple Irish Brown Bread. This recipe is rooted in my experiences and the rich culinary history of Ireland.
You’ll Also Like These Recipes
What is Simple Irish Brown Bread Recipe?
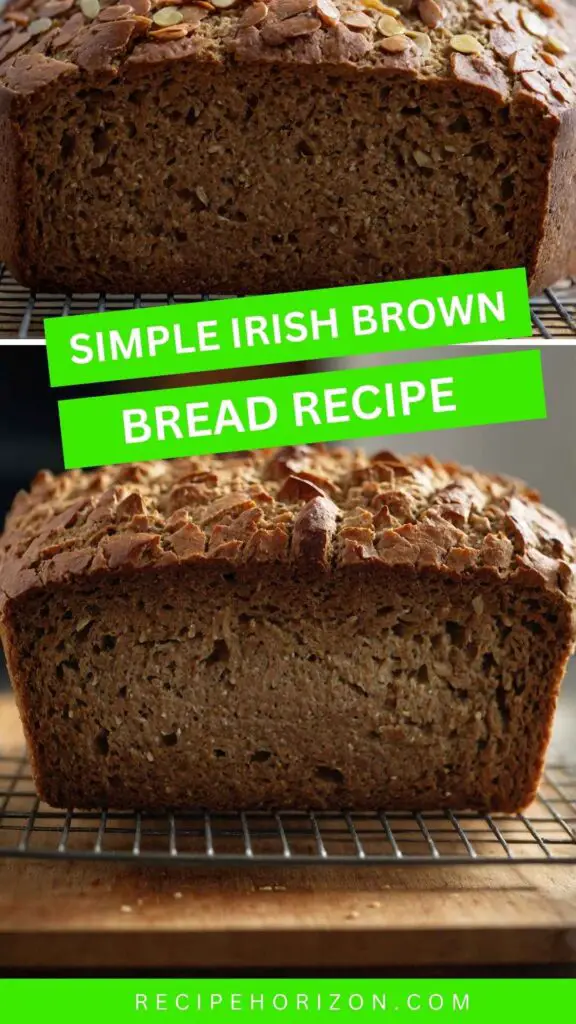
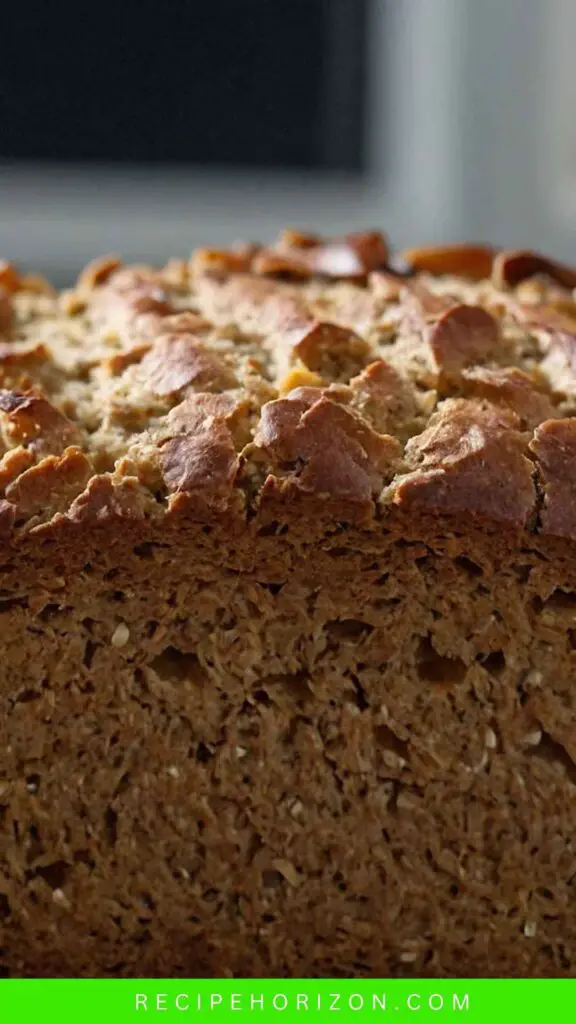
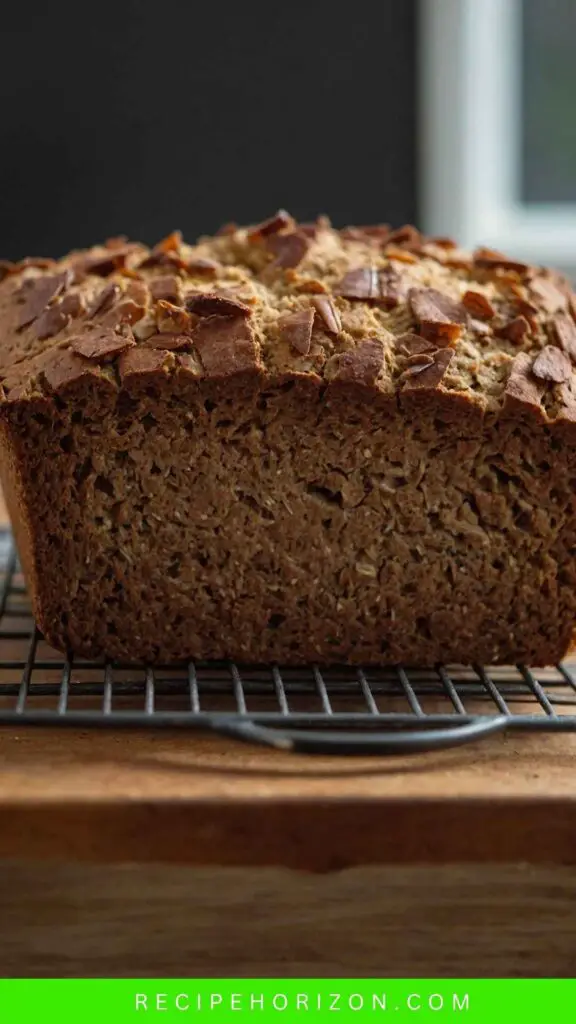
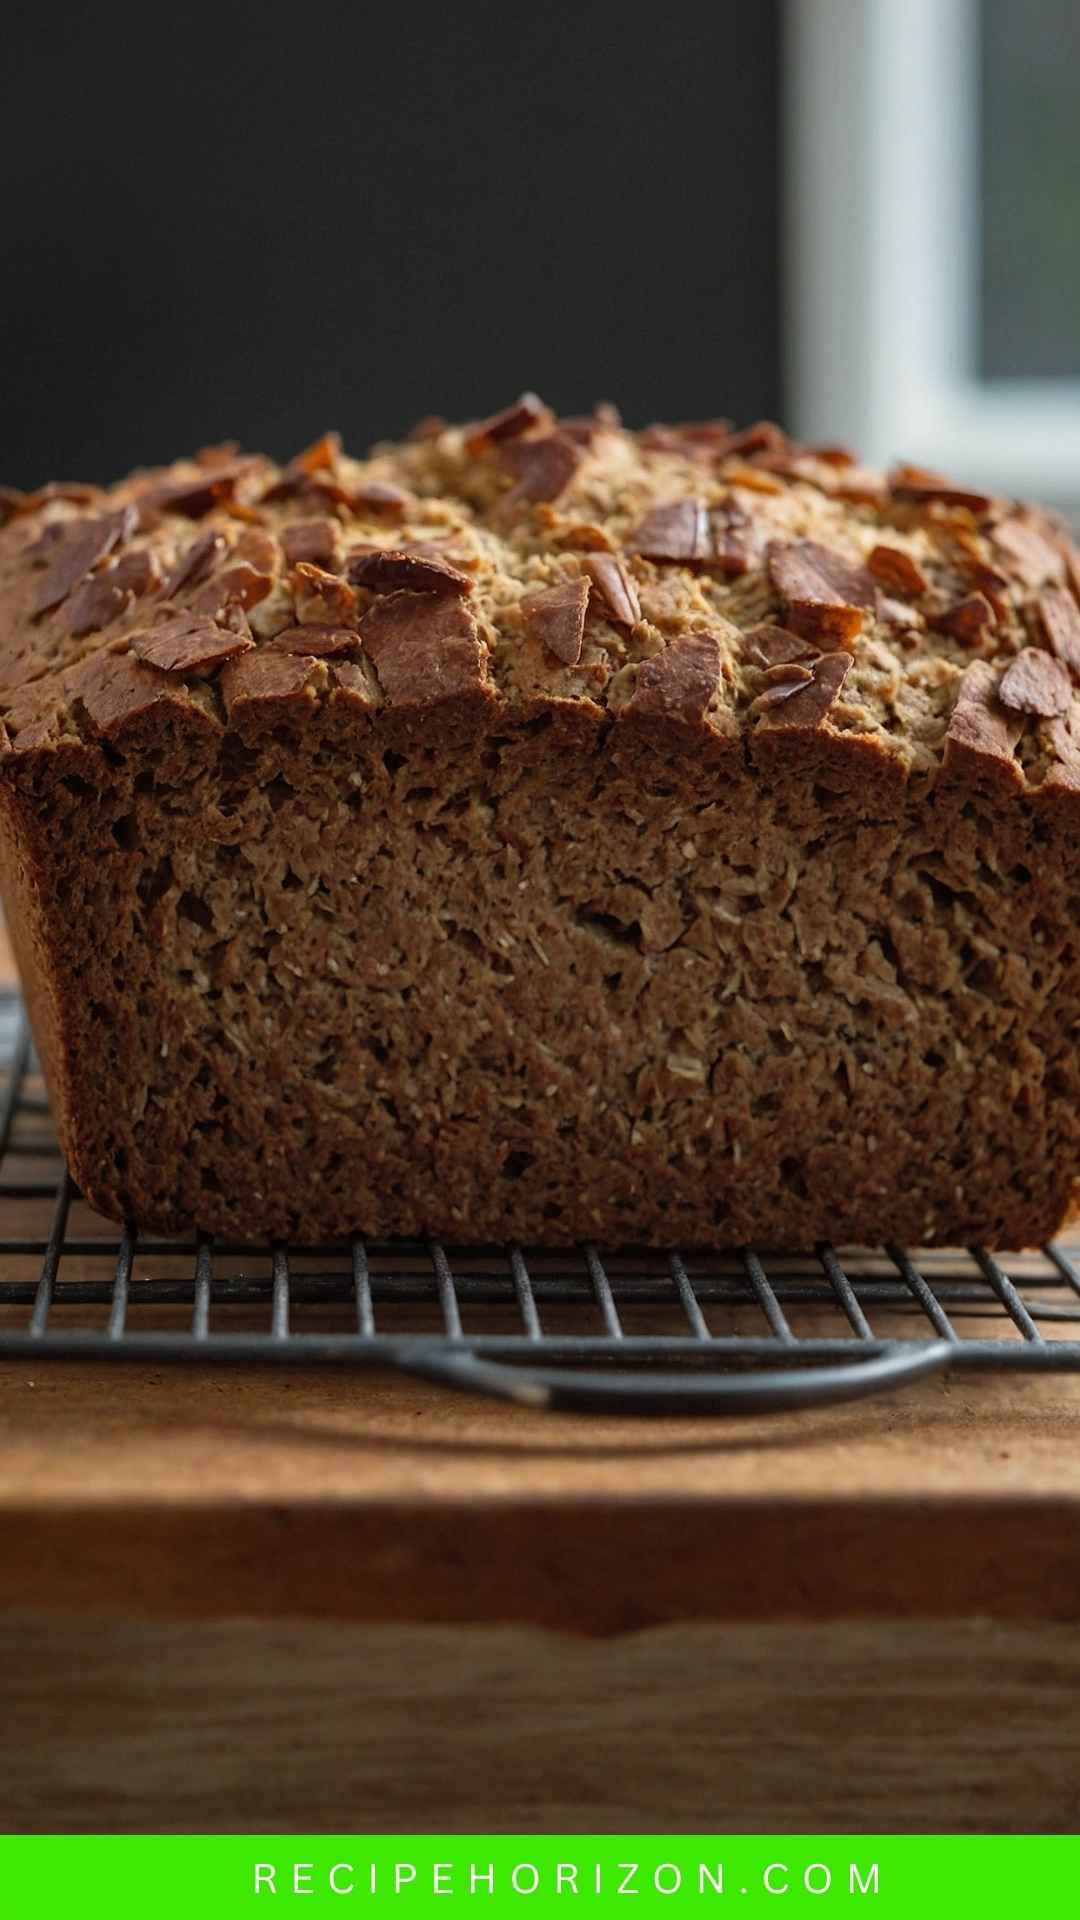
Irish brown bread, like a warm hug after a long day, is a staple in many Irish households. It is hearty, wholesome, and uncomplicated. This type of bread, typically made from whole wheat flour, gives you a distinctive flavor and texture that white bread simply can’t match.
It’s packed with nutrients and has a slight nutty taste thanks to the whole grains and rolled oats. This recipe embraces simplicity. With just a handful of ingredients, you can create a loaf that delights the senses.
Why You’ll Love This Simple Irish Brown Bread Recipe?
You might be wondering, “Why should I try making bread at home?” Trust me, the reasons are plenty.
- Freshness Factor: Nothing beats the aroma of bread baking in your home. It’s one of life’s small joys.
- Health Benefits: Whole grains are your friends. They are filled with fiber, essential for digestion, and help keep you fuller for longer.
- Versatile: This bread goes with everything. Slather on some butter, pair it with soup, or enjoy it with a bit of cheese.
- Easy to Make: Even if you’ve never baked before, you can master this recipe. If I can do it, anyone can!
- Cost-Effective: Skip store-bought bread filled with preservatives. Make your own for a fraction of the price.
And those are just a few enticing reasons. Now, let’s get started!
The Ingredients
Let’s gather what we need for this delicious bread. The list is short and sweet:
- 450 grams (about 1.75 cups) buttermilk
- 180 grams (about 1.5 cups) bread flour
- 10 grams (about 2 teaspoons) Diamond Crystal Kosher Salt
- 50 grams (about 1/2 cup) rolled oats, plus more for sprinkling
- 1 egg
- 10 grams (about 2 teaspoons) brown sugar
- 28 grams (about 2 tablespoons) melted butter
- 165 grams (about 1.25 cups) whole wheat flour
- 5 grams (about 1 teaspoon) baking soda
- 44 grams (about 1/2 cup) wheat germ
If you’re like me and enjoy a bit of experimentation, feel free to add your twist to the ingredients.
Step by Step Instructions
Step 1: Preheat Your Oven
Begin by preheating your oven to 400°F (200°C). A hot oven is essential for a good rise and crust.
Step 2: Gather Your Dry Ingredients
In a large mixing bowl, combine the whole wheat flour, bread flour, rolled oats, baking soda, wheat germ, and salt. Use a whisk to mix them well. This simple act ensures even distribution, making a big difference in the final outcome.
Step 3: Create a Well for Wet Ingredients
In the center of the dry ingredients, create a well. This well will be where all the magic happens: the addition of wet ingredients.
Step 4: Mix Your Wet Ingredients
In a separate bowl, whisk together the buttermilk, egg, brown sugar, and melted butter. As you stir, take a moment to savor the smell of the butter joining the other flavors. This is where the flavor begins to deepen.
Step 5: Combine Wet and Dry Ingredients
Pour the wet mixture into the well you made in the dry ingredients. Gently stir with a wooden spoon or spatula until a dough starts to form. Be careful not to overmix; we want a tender loaf.
Step 6: Knead the Dough
Turn the dough out onto a well-floured surface. Knead it lightly for about 3-5 minutes. You don’t need to form it into a perfect ball; just bring it together.
Step 7: Shape the Dough
Form the dough into a round loaf about 1 inch thick. Transfer it to a parchment-lined baking tray.
Step 8: Score the Loaf
Using a sharp knife, cut a shallow “X” on the top of the loaf. This classic move helps the steam escape and allows for a lovely rise. I always think of it as giving the bread a little breath of fresh air.
Step 9: Sprinkle with Oats
Garnish the top with a sprinkle of rolled oats. Not only does this look nice, but they add an extra crunch to the crust.
Step 10: Bake
Place the bread in the oven and bake for about 30-40 minutes. You’ll know it’s done when it sounds hollow when tapped on the bottom. That auditory confirmation is like music to my ears!
Step 11: Cool and Enjoy
Once baked, transfer your bread to a wire rack. Allow it to cool for at least 15 minutes before slicing. This waiting is incredibly hard, but trust me, it’s worth it!
Tips & Tricks
- Use room temperature ingredients: It helps in better mixing and results in a lighter bread.
- Don’t skip the buttermilk: It’s the secret ingredient that gives the bread its distinct flavor and softness.
- Knead sparingly: Over-kneading can lead to tough bread. Keep it gentle!
- Experiment with add-ins: Think about nuts, seeds, or even dried fruits if you want to shake things up.
- Keep an eye on your oven: Every oven is different. Check for doneness a few minutes early to avoid overbaking.
Nutrition Information
Each slice of this Simple Irish Brown Bread packs a nutritious punch! According to my estimates, one slice (approximately 60g) contains:
- Calories: 150
- Protein: 5g
- Fat: 4g
- Carbohydrates: 25g
- Fiber: 3g
This nutritional breakdown makes it a healthy choice, especially when you consider the benefits of whole grains.
Can I Store Simple Irish Brown Bread Recipe?
Absolutely! Proper storage can keep your bread fresh for several days. Here’s how:
- Room Temperature: Wrap the bread in a clean kitchen towel. Place it in a bread box for up to three days.
- Freezing: For longer storage, slice the bread, wrap it tightly in plastic wrap and aluminum foil, or place it in a freezer bag. It can last up to three months in the freezer. When you’re ready to enjoy it, simply thaw it at room temperature or toast slices directly.
What Can I Serve with Simple Irish Brown Bread Recipe?
This versatile bread pairs beautifully with a variety of accompaniments. Some of my favorites include:
- Butter and Jam: A classic combination. Simple, yet satisfying.
- Cheese Board: Elevate your snack time with a selection of cheeses, cured meats, and olives. The nutty flavor of the bread complements cheese wonderfully.
- Soup: Serve it alongside hearty soups, such as tomato basil or potato leek. It’s perfect for dipping!
- Salads: Pair it with a fresh green salad for a light meal. The crunch of the bread balances the salad’s textures.
- Avocado Toast: A delicious modern twist! Smash some avocado on top and sprinkle with salt and chili flakes for a tasty treat.
Variations
If you’re looking to shake up your Irish brown bread routine, here are five variations to consider:
- Honey Oat Brown Bread: Add 1/4 cup of honey to the wet ingredients for a subtly sweet twist. Honey enhances moisture and flavor beautifully.
- Seeded Brown Bread: Incorporate 2 tablespoons of mixed seeds like sunflower, pumpkin, or sesame into the dough for added crunch and nutrition.
- Herb Brown Bread: Mix in 2 tablespoons of fresh chopped herbs (like rosemary or thyme) for a fragrant twist that pairs perfectly with soups.
- Fruit and Nut Brown Bread: Add 1/2 cup of chopped dried fruits (such as raisins or cranberries) and 1/4 cup of walnuts for a delightful sweet and nutty experience.
- Spiced Brown Bread: Mix in 1 teaspoon of cinnamon and 1/4 teaspoon of nutmeg for a warm, cozy flavor profile. Perfect for chilly evenings.
Simple Irish Brown Bread Recipe
Ingredients
Equipment
Method
- Begin by preheating your oven to 400°F (200°C). A hot oven is essential for a good rise and crust.
- In a large mixing bowl, combine the whole wheat flour, bread flour, rolled oats, baking soda, wheat germ, and salt. Use a whisk to mix them well. This simple act ensures even distribution, making a big difference in the final outcome.
- In the center of the dry ingredients, create a well. This well will be where all the magic happens: the addition of wet ingredients.
- In a separate bowl, whisk together the buttermilk, egg, brown sugar, and melted butter. As you stir, take a moment to savor the smell of the butter joining the other flavors. This is where the flavor begins to deepen.
- Pour the wet mixture into the well you made in the dry ingredients. Gently stir with a wooden spoon or spatula until a dough starts to form. Be careful not to overmix; we want a tender loaf.
- Turn the dough out onto a well-floured surface. Knead it lightly for about 3-5 minutes. You don’t need to form it into a perfect ball; just bring it together.
- Form the dough into a round loaf about 1 inch thick. Transfer it to a parchment-lined baking tray.
- Using a sharp knife, cut a shallow “X” on the top of the loaf. This classic move helps the steam escape and allows for a lovely rise. I always think of it as giving the bread a little breath of fresh air.
- Garnish the top with a sprinkle of rolled oats. Not only does this look nice, but they add an extra crunch to the crust.
- Place the bread in the oven and bake for about 30-40 minutes. You’ll know it’s done when it sounds hollow when tapped on the bottom. That auditory confirmation is like music to my ears!
- Once baked, transfer your bread to a wire rack. Allow it to cool for at least 15 minutes before slicing. This waiting is incredibly hard, but trust me, it’s worth it!
Nutrition
Notes
- Use room temperature ingredients: It helps in better mixing and results in a lighter bread.
- Don’t skip the buttermilk: It’s the secret ingredient that gives the bread its distinct flavor and softness.
- Knead sparingly: Over-kneading can lead to tough bread. Keep it gentle!
- Experiment with add-ins: Think about nuts, seeds, or even dried fruits if you want to shake things up.
- Keep an eye on your oven: Every oven is different. Check for doneness a few minutes early to avoid overbaking.
Tried this recipe?
Let us know how it was!Simple Irish Brown Bread Recipe FAQ
1. Can I use all-purpose flour instead of whole wheat flour?
Absolutely! You can use all-purpose flour, but it will change the nutrition and texture slightly. The bread will be lighter and fluffier without the hearty feel of whole wheat.
2. Is buttermilk necessary for this recipe?
Buttermilk gives the bread a unique tang and moisture. If you don’t have buttermilk, you can substitute it with regular milk mixed with 1 tablespoon of vinegar or lemon juice. Let it sit for a few minutes until it curdles.
3. Can I make this bread gluten-free?
Yes, you can modify the recipe with gluten-free flour blends. Just ensure the flour you choose has added binding agents like xanthan gum to help the bread rise well.
4. Why is my bread dense?
Dense bread can result from many factors. Make sure you measure your flour correctly. Too much flour can yield a heavy loaf. Check your baking soda to ensure it’s fresh and active, as this is essential for lift.
5. How do I know when my bread is done?
The best way is to tap the bottom of the loaf; if it sounds hollow, it’s done. You can also check with a toothpick inserted in the center. If it comes out clean, you’re good to go!
Conclusion
Creating a Simple Irish Brown Bread has been one of the most rewarding culinary experiences for me. The process is straightforward, and the results are nothing short of delightful. It’s more than just a recipe; it’s a connection to tradition and comfort. The comforting aroma, paired with the soft, nutty crumb, draws in everyone around the table. Whether it’s slathered in butter or served alongside a hearty stew, this bread has a way of making any meal feel special.
So, I encourage you to embrace this recipe. Let the warmth of your oven transform your kitchen and create new memories. Share it with family and friends, and enjoy the heartfelt moments that come with breaking bread together. Happy baking!

