Linda Cain
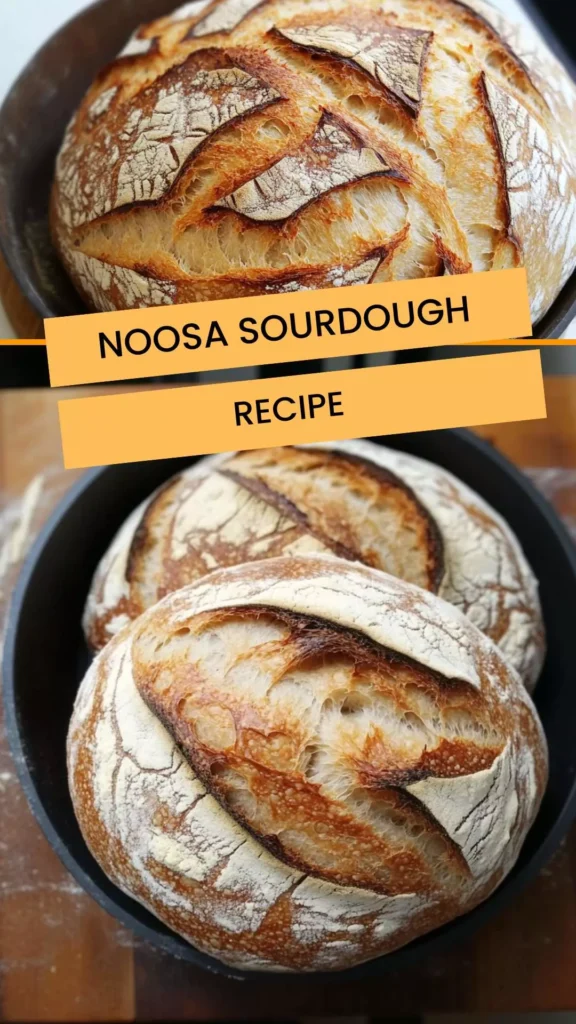
When diving into the world of breadmaking, Noosa sourdough stands out as a star. This bread is a delight to the senses and pairs beautifully with both sweet and savory dishes. Imagine biting into a warm slice, the crust crackling delightfully, while slathering it with creamy butter.
You can also pair it with hearty soups, gourmet cheeses, or fresh salads. Want to elevate that breakfast? Top it with smashed avocado and a sprinkle of sea salt. The possibilities are endless, making it a fantastic addition to any meal.
As a food blogger, I find immense joy in creating dishes that are both approachable and delicious. Sourdough has a special place in my heart — there’s something almost magical about watching dough transform into crusty, golden loaves. Not only does it taste phenomenal, but there’s a science behind it.
I’ve spent countless hours experimenting with different variations. Today, I’m excited to share the no-nonsense Noosa sourdough recipe that has won over many friends and family members. Whether you’re a seasoned baker or a novice, you’ll find this bread irresistibly simple and gratifying to make.
What is Noosa Sourdough?
Noosa sourdough, named after the sunny coastal town in Australia, is famous for its unique flavor profile. The combination of a tangy sourdough culture and a perfect balance of flour and water creates a loaf that’s chewy within and crispy on the outside.
Why This Recipe Works
Authentic Fermentation
The beauty of Noosa sourdough lies in its fermentation process. By using a sourdough starter, you allow natural yeasts and bacteria to work their magic. This fermentation doesn’t just make the dough rise. It also amplifies the flavors, leading to a deeper taste that commercial bread simply cannot achieve.
Simple Ingredients
With just a handful of ingredients — flour, water, sourdough culture, olive oil, and salt — you can create something truly special. Each component matters. The olive oil helps create a tender crumb, while sea salt enhances the overall flavor.
Flexibility with Timing
One of my favorite things about this recipe is its flexibility. You can let the dough rise overnight in the fridge. This allows for a deeper flavor development without any rush, perfect for those busy schedules.
Suitable for All Skill Levels
Whether you’ve never baked a loaf before or you’ve participated in sourdough bake-offs, this recipe is for you. The steps are clear and manageable, making it approachable and fun for everyone.
Ingredients You’ll Need To Make This Dish
- 500g all-purpose flour
- 350g filtered tap water
- 50g tangy sourdough culture
- 15g olive oil
- 10g sea salt crystals

How To Make This Noosa Sourdough
Step 1: Mix the Ingredients
Start by whisking together the flour and sea salt in a large bowl. In a separate bowl, stir together the water and sourdough culture until well combined. Slowly pour the wet mixture into the dry mixture, incorporating it with a spatula or your hands until no dry flour remains.
Step 2: Knead the Dough
Transfer the dough to a lightly floured surface. Knead the dough for about 10 minutes, or until it becomes smooth and elastic. This step is crucial for gluten development. Don’t worry if it’s a bit sticky; you can sprinkle a little flour if necessary.
Step 3: First Rise
Shape the dough into a ball and place it in a lightly greased bowl. Cover it with a damp cloth or plastic wrap. Let it rise in a warm place for about 4 hours or until it has doubled in size. If you prefer, you can refrigerate the dough overnight during this step.
Step 4: Shape the Dough
After the first rise, gently deflate the dough on a floured surface. Shape it into a round loaf by pulling the edges towards the center. Flip it over so the seam is on the bottom. Let it rest for 30 minutes.
Step 5: Second Rise
Place your shaped dough in a proofing basket or on a floured parchment paper. Cover it loosely with a cloth and let it rise for another 2 hours.
Step 6: Preheat the Oven
About 30 minutes before you bake, preheat your oven to 485°F (250°C). If you have a baking stone, place it in the oven while it preheats. A Dutch oven also yields great results.
Step 7: Score the Loaf
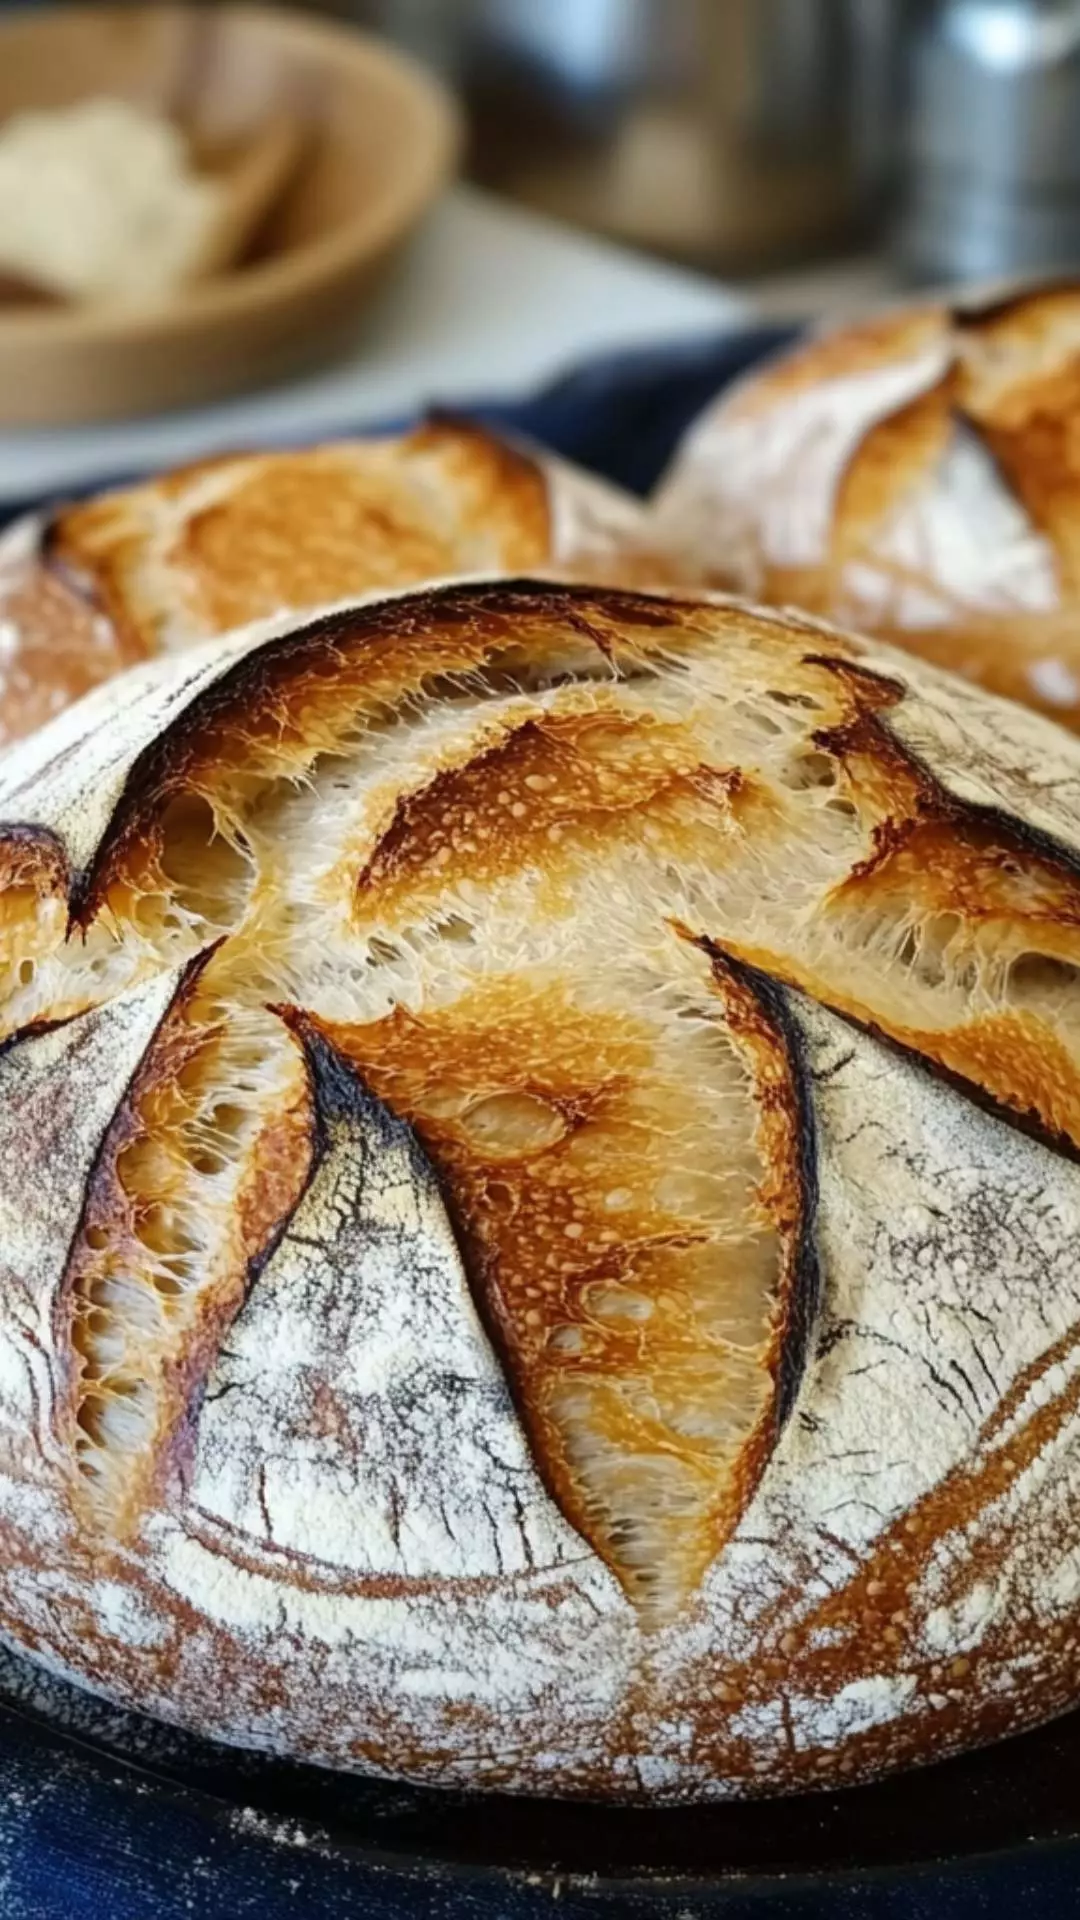
Once the oven is ready, carefully turn the dough out onto a piece of parchment paper. Using a sharp knife or a lame, score a shallow cut across the top. This allows the bread to expand while baking.
Step 8: Bake the Bread
If using a Dutch oven, place the covered pot in the oven for the first 30 minutes. Remove the lid for the final 15 minutes to achieve a golden crust. If you’re using a baking stone, slide the parchment paper directly onto the stone. Bake for 45 minutes, or until the crust is golden brown.
Step 9: Cool the Bread
Once baked, remove your bread from the oven and let it cool on a rack for at least an hour. This is essential for the crumb structure to set properly.
Tips & Tricks
Hydration Experimentation: Feel free to adjust the water amount slightly. Higher hydration can yield a chewier crumb. Just be careful not to go overboard.
Check the Temperature: Ideal room temperature for fermentation is around 75°F (24°C). Adjust your rising times based on how warm or cool your environment is.
Flavor Boost: Add herbs, garlic, or cheese during the kneading process for extra flavor.
Practice Patience: Allowing your dough to rise slowly will enhance the flavor. Overnight in the fridge works wonders.
Keep a Log: Document your baking process. It helps you track what works best over time.
Nutrition Information

How Do You Store The Leftovers?
Leftover Noosa sourdough can be stored in a paper bag at room temperature for up to three days. For longer storage, slice the bread and place it in a zip-top bag in the freezer. It will keep for up to three months. When you want a slice, simply toast it directly from the freezer.
What Sides Would Complement Noosa Sourdough Recipe?
Hearty Tomato Soup
This classic pairing never disappoints. A rich, warm tomato soup, with its deep flavors, matches perfectly with the crusty sourdough. Dip, soak, and enjoy; they complement one another wonderfully.
Charcuterie Board
Create a beautiful spread with assorted cheeses, cured meats, olives, and fruits. Noosa sourdough adds another layer of texture and flavor that enhances the entire board.
Fresh Garden Salad
After tasting a slice of that chewy goodness, a bright salad with crisp greens, tangy vinaigrette, and seasonal veggies offers a refreshing contrast that lifts the meal.
What Alternatives Can You Use for the Ingredients if They Are Not Present in Your Kitchen?
Whole Wheat Flour
You can substitute a portion of all-purpose flour with whole wheat flour for added nutrients. Start with half, and see how the dough handles.
Water Alternatives
In case you find yourself without filtered water, tap water will suffice. Just ensure it’s at room temperature.
Sourdough Culture Substitutes
If you don’t have sourdough culture, you can create a homemade starter or use a store-bought one if absolutely needed, although this won’t have the same distinctive Noosa flavor.
Olive Oil Alternatives
For those who may not have olive oil, you can use canola or avocado oil. The taste profile will change, but the texture will remain intact.
Noosa Sourdough Recipe
Ingredients
Equipment
Method
- Start by whisking together the flour and sea salt in a large bowl. In a separate bowl, stir together the water and sourdough culture until well combined. Slowly pour the wet mixture into the dry mixture, incorporating it with a spatula or your hands until no dry flour remains.
- Transfer the dough to a lightly floured surface. Knead the dough for about 10 minutes, or until it becomes smooth and elastic. This step is crucial for gluten development. Don’t worry if it’s a bit sticky; you can sprinkle a little flour if necessary.
- Shape the dough into a ball and place it in a lightly greased bowl. Cover it with a damp cloth or plastic wrap. Let it rise in a warm place for about 4 hours or until it has doubled in size. If you prefer, you can refrigerate the dough overnight during this step.
- After the first rise, gently deflate the dough on a floured surface. Shape it into a round loaf by pulling the edges towards the center. Flip it over so the seam is on the bottom. Let it rest for 30 minutes.
- Place your shaped dough in a proofing basket or on a floured parchment paper. Cover it loosely with a cloth and let it rise for another 2 hours.
- About 30 minutes before you bake, preheat your oven to 485°F (250°C). If you have a baking stone, place it in the oven while it preheats. A Dutch oven also yields great results.
- Once the oven is ready, carefully turn the dough out onto a piece of parchment paper. Using a sharp knife or a lame, score a shallow cut across the top. This allows the bread to expand while baking.
- If using a Dutch oven, place the covered pot in the oven for the first 30 minutes. Remove the lid for the final 15 minutes to achieve a golden crust. If you’re using a baking stone, slide the parchment paper directly onto the stone. Bake for 45 minutes, or until the crust is golden brown.
- Once baked, remove your bread from the oven and let it cool on a rack for at least an hour. This is essential for the crumb structure to set properly.
Nutrition
Notes
- Hydration Experimentation: Feel free to adjust the water amount slightly. Higher hydration can yield a chewier crumb. Just be careful not to go overboard.
- Check the Temperature: Ideal room temperature for fermentation is around 75°F (24°C). Adjust your rising times based on how warm or cool your environment is.
- Flavor Boost: Add herbs, garlic, or cheese during the kneading process for extra flavor.
- Practice Patience: Allowing your dough to rise slowly will enhance the flavor. Overnight in the fridge works wonders.
- Keep a Log: Document your baking process. It helps you track what works best over time.
Tried this recipe?
Let us know how it was!Frequently Asked Questions
Conclusion
Baking Noosa sourdough is an adventure that brings joy right into your kitchen and your home. The process teaches patience, respect for the ingredients, and the pleasure that comes from nourishing yourself and loved ones.
There’s nothing quite like pulling a warm loaf from the oven, the aroma filling your space, and slicing into that perfect bread. Whether you’re eating it fresh, toasting it, or pairing it with a meal, Noosa sourdough is a culinary experience that keeps on giving. Happy baking!