Linda Cain
Homemade pita bread is an incredibly versatile and delicious creation that opens the door to a variety of pairing options. Its soft, pillowy texture and slight chewiness make it the perfect vessel for all sorts of fillings and dips.
Hummus, a creamy and garlicky chickpea dip, is a classic pairing that complements the pita beautifully, offering richness and depth. Tzatziki sauce, with its cool, tangy yogurt base and fresh herbs, provides a refreshing contrast that balances the richness of the bread.
For a heartier meal, falafel—crispy, golden chickpea balls—are a natural fit.
Stuff them into the pita with some veggies, and you’ve got a meal that’s both satisfying and delicious. Shawarma, with its spiced, roasted meat, is another fantastic choice, as the tender, flavorful meat tucks perfectly into the warm pita, creating a satisfying bite.
To round out the meal, a Greek salad with its juicy tomatoes, crisp cucumbers, and tangy feta offers a fresh, crunchy side that balances the warmth and softness of the pita bread. With these pairings, you’ll elevate your homemade pita bread to an unforgettable culinary experience!

You’ll Also Like These Recipes
You’ve probably had pita bread fluffed up and warm from the oven. The pocket is what makes it a versatile staple. Whether you’re stuffing it with vibrant salads, savory meats, or simple spreads, pita bread is a culinary powerhouse.
Today, I will guide you through making homemade pita bread from scratch.
When I first attempted making pita at home, I recalled the distinct aroma wafting from bakeries during my travels. The thrill of creating that same experience in my kitchen was unlike anything. With that motivation, I tackled the art of pita-making.
Here’s how you can achieve that delight, too. Buckle up; it’s going to be quite a ride!
What is Homemade Pita Bread?
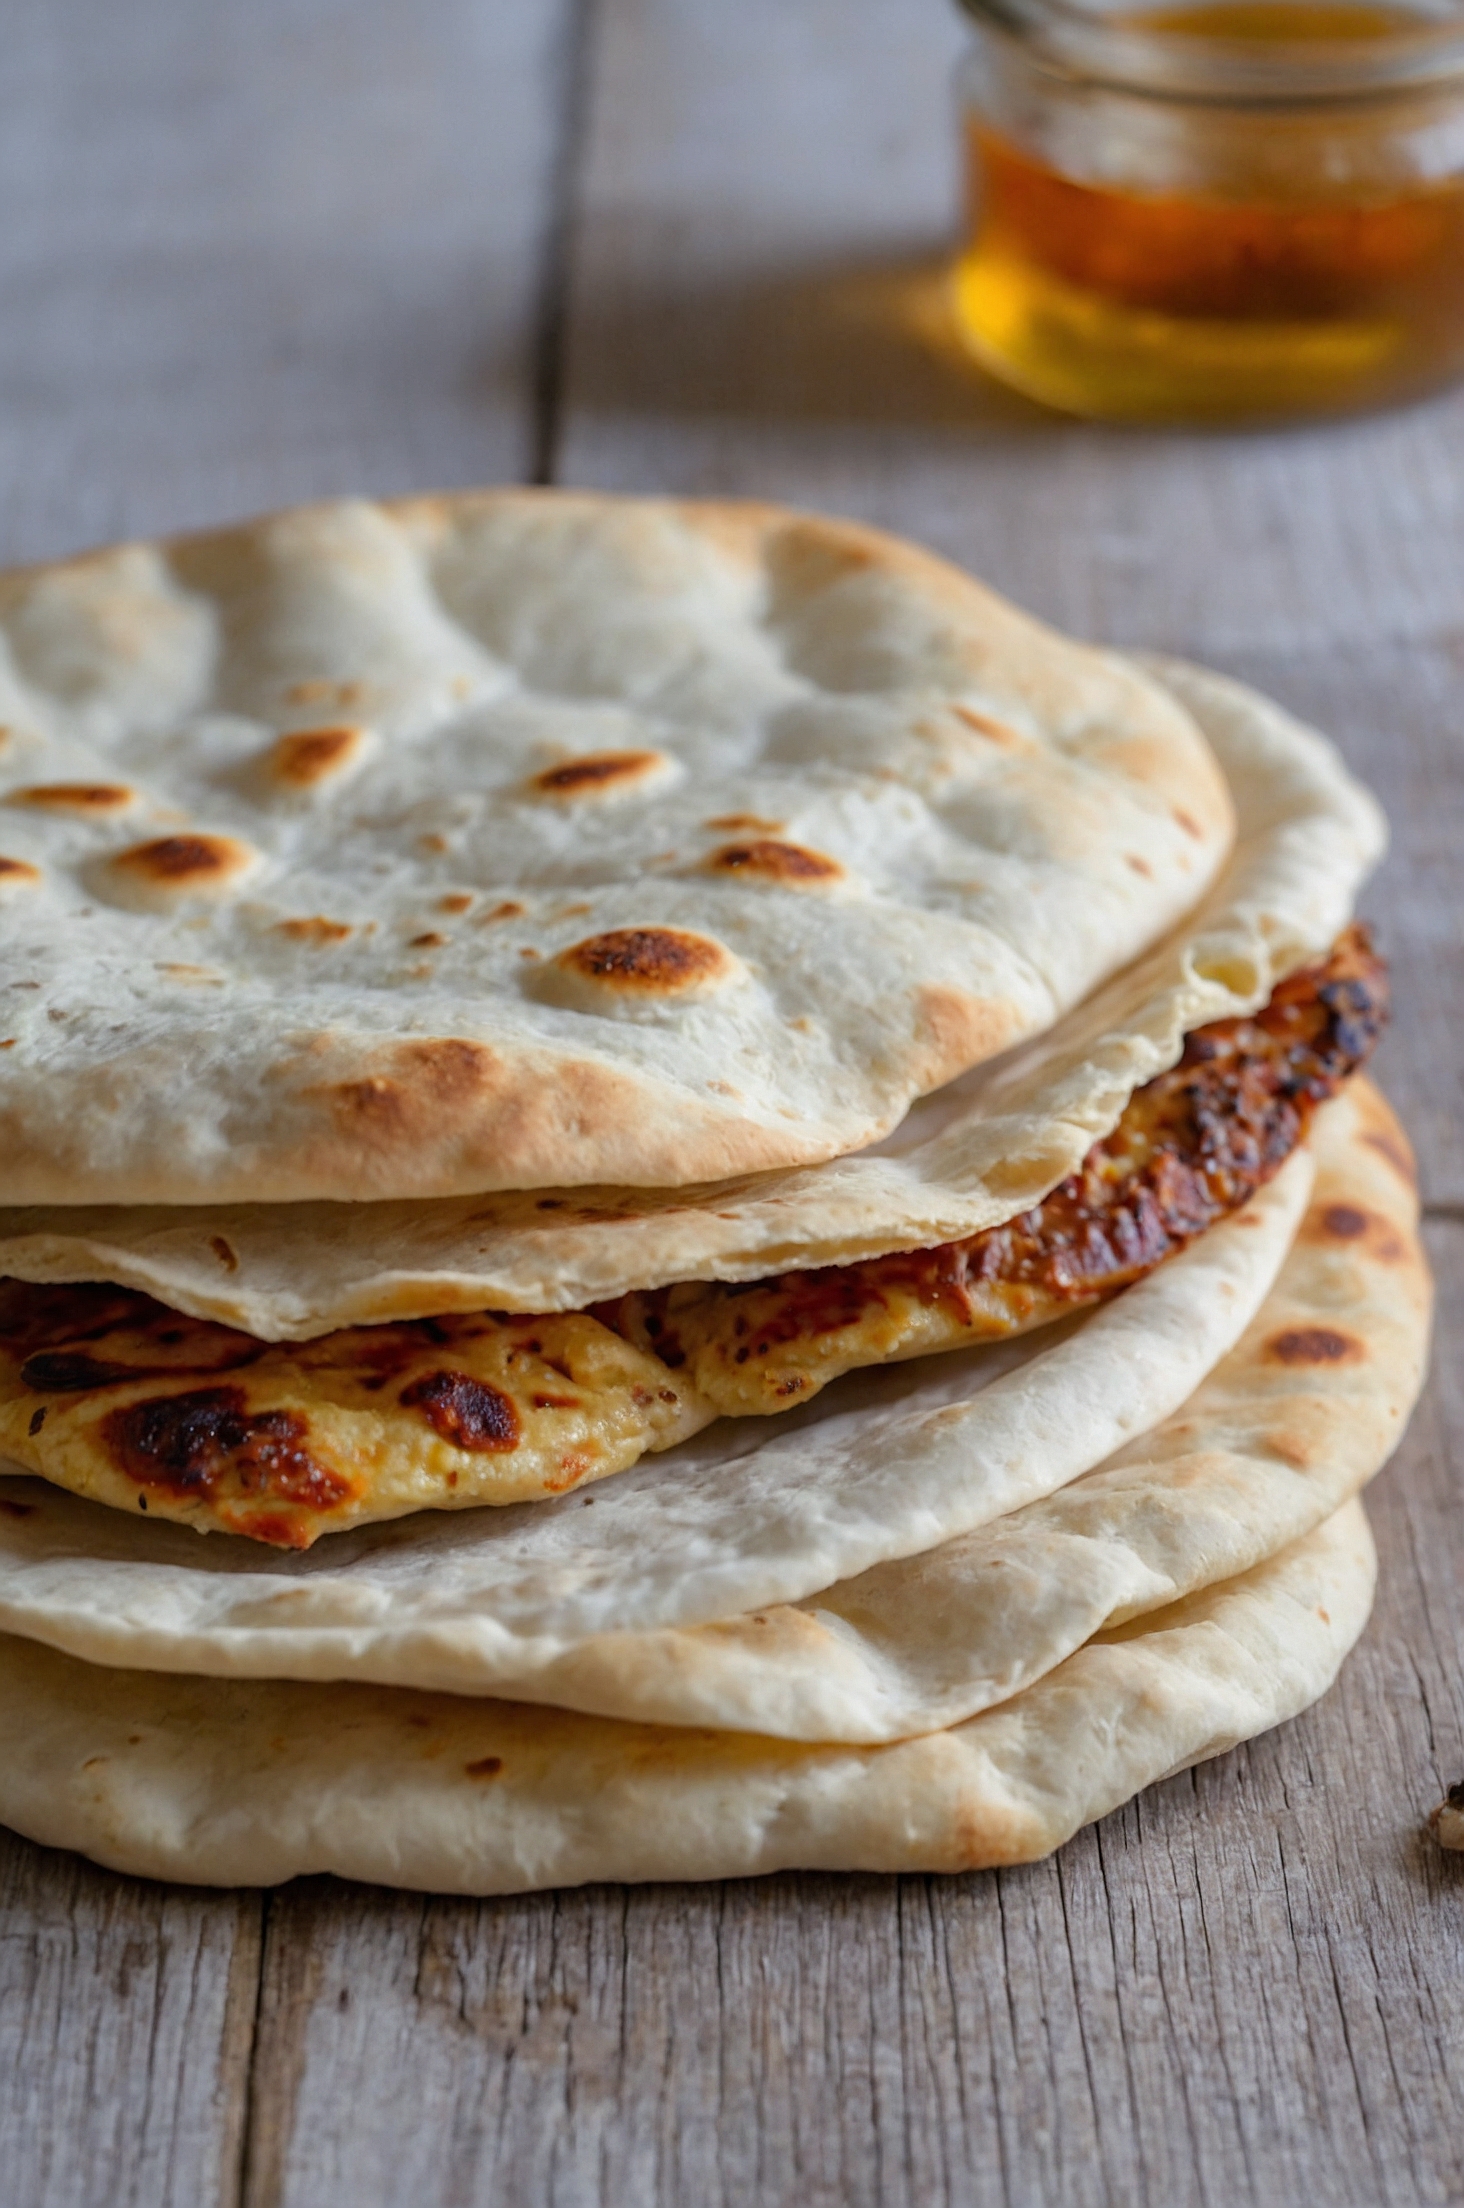
Homemade pita bread is an unleavened flatbread that puffs up when baked, forming a pocket. This yeast-leavened bread is made using a handful of ingredients and offers a light, airy bite. Best of all, it’s customizable and can be made with various flours or flavors.
Why This Recipe Works
This recipe isn’t just any run-of-the-mill pita recipe. Here’s why it stands out:
1. Simple Ingredients: All you need are common ingredients—flour, yeast, water, and a few seasonings. No fancy additives are required!
2. Quick Preparation: The hands-on time is less than thirty minutes. Once you mix and knead, let the dough rise, and you’re nearly there.
3. Guaranteed Puff: With the right temperature and technique, this recipe ensures your pita bread will puff up beautifully in the oven.
4. Versatility: Use this pita in various ways—think sandwiches, snacks, or even mini pizzas. You’ll find countless uses for it.
Ingredients You’ll Need To Make This Dish
Before you roll up your sleeves, gather the following ingredients:
- 1/4 tsp garlic powder
- 2 tbsp olive oil
- 1 tbsp honey
- 1 to 2 tsp sea salt
- 3 cups all-purpose flour, separated
- 2 tsp dry active yeast
- 1/2 tsp granulated sugar
- 1 cup warm water

How to Make Homemade Pita Bread
Now that we have our ingredients, let’s delve into the steps to make this scrumptious bread!
Step 1: Prepare the Yeast
Start by dissolving the sugar and yeast in warm water. Stir gently and let it sit for about 5 to 10 minutes. You’ll see bubbles form; that means it’s active and ready to work!
Step 2: Mix Dry Ingredients
In a large bowl, combine 2 cups of all-purpose flour, garlic powder, and sea salt. Mix well to evenly disperse the salt and garlic powder throughout the flour.
Step 3: Combine the Mixtures
Once your yeast foam has formed, mix in your olive oil and 1 tablespoon of honey. Gradually add this mixture to your dry ingredients. Use a wooden spoon or your hands to combine them until a shaggy dough forms.
Step 4: Knead the Dough
Transfer the dough onto a floured surface. Knead the dough for about 8 minutes until it becomes smooth and elastic. This step is crucial; proper kneading develops gluten and helps with puffs.
Step 5: Let It Rise
Lightly grease a bowl and place your kneaded dough inside. Cover with a towel or plastic wrap and let it rise in a warm area until it doubles in size. This usually takes about 1 hour.
Step 6: Preheat the Oven
While waiting, preheat your oven to 500°F (260°C). If you have a baking stone, place it in the oven to heat up. If not, simply use a baking sheet.
Step 7: Shape the Pitas
Once doubled, punch the dough down to release the air. Divide it into 8 equal pieces and shape them into balls. Roll each ball out into circles about 1/4 inch thick on a floured surface.
Step 8: Bake the Pitas
Place the rolled-out pitas on a baking stone or directly onto the hot baking sheet. Bake for about 5 to 7 minutes or until they puff up. They should have a nice golden color.
Step 9: Store or Serve Warm
After baking, let the pita cool slightly on a wire rack. Serve them warm, or let them cool completely before storing.
Tips & Tricks
Here are some helpful tips to ensure your pita-making journey is a success:
- Don’t Over-Knead: Kneading is essential, but overworking the dough can make your pitas tough rather than soft.
- Check Yeast Freshness: Old yeast won’t rise. Make sure yours is fresh and active.
- Pita Flip: If some pita don’t puff up, try flipping them midway through baking. Sometimes, heat distribution can cause uneven puffing.
- Shape Consistently: Keep your rounds of dough roughly the same size. This helps with even baking.
- Keep Warm: If you make a large batch, wrap them in a towel while baking the others to keep them warm.
Nutrition Information
Homemade pita bread nutrition facts

How Do You Store The Leftovers?
Storing leftovers is simple:
- Room Temperature: Keep your pita in a sealed zip-lock bag or airtight container for a few days.
- Freezing: For longer storage, freeze them by placing parchment paper between each pita and sealing in a freezer bag. They can last up to three months.
- Reheating: Warm them in the oven for a few minutes or in a toaster to recreate that fresh-baked taste.
What Sides Would Complement Homemade Pita Bread?
Now, what can you pair with your delightful homemade pita? Here are excellent options:
1. Mediterranean Chicken Salad: Chopped grilled chicken with cucumbers, tomatoes, olives, and feta provides a colorful, refreshing dish that pairs perfectly with pita.
2. Baba Ganoush: A smoky eggplant dip that introduces a different flavor profile. Spread it or serve alongside for dipping.
3. Roasted Vegetables: Mixed seasonal veggies roasted with olive oil and herbs make a delightful, warm side to serve with your pita.

What Alternatives Can You Use for the Ingredients if They Are Not Present in Your Kitchen?
Sometimes, you might find yourself lacking certain ingredients. Not to worry, here are some alternatives:
1. Whole Wheat Flour: You can substitute half of the all-purpose flour with whole wheat to increase fiber content and give a nuttier flavor.
2. Agave Syrup or Maple Syrup: These sweeteners can replace honey if you are out of it.
3. Coconut Oil: If out of olive oil, melted coconut oil can work just as well for that moist texture.
4. Garlic Powder: Fresh minced garlic can provide a more potent flavor. Adjust according to personal preference!
Homemade Pita Bread Recipe
Ingredients
Equipment
Method
- Start by dissolving the sugar and yeast in warm water. Stir gently and let it sit for about 5 to 10 minutes. You’ll see bubbles form; that means it’s active and ready to work!
- In a large bowl, combine 2 cups of all-purpose flour, garlic powder, and sea salt. Mix well to evenly disperse the salt and garlic powder throughout the flour.
- Once your yeast foam has formed, mix in your olive oil and 1 tablespoon of honey. Gradually add this mixture to your dry ingredients. Use a wooden spoon or your hands to combine them until a shaggy dough forms.
- Transfer the dough onto a floured surface. Knead the dough for about 8 minutes until it becomes smooth and elastic. This step is crucial; proper kneading develops gluten and helps with puffs.
- Lightly grease a bowl and place your kneaded dough inside. Cover with a towel or plastic wrap and let it rise in a warm area until it doubles in size. This usually takes about 1 hour.
- While waiting, preheat your oven to 500°F (260°C). If you have a baking stone, place it in the oven to heat up. If not, simply use a baking sheet.
- Once doubled, punch the dough down to release the air. Divide it into 8 equal pieces and shape them into balls. Roll each ball out into circles about 1/4 inch thick on a floured surface.
- Place the rolled-out pitas on a baking stone or directly onto the hot baking sheet. Bake for about 5 to 7 minutes or until they puff up. They should have a nice golden color.
- After baking, let the pita cool slightly on a wire rack. Serve them warm, or let them cool completely before storing.
Nutrition
Notes
- Don’t Over-Knead: Kneading is essential, but overworking the dough can make your pitas tough rather than soft.
- Check Yeast Freshness: Old yeast won’t rise. Make sure yours is fresh and active.
- Pita Flip: If some pita don’t puff up, try flipping them midway through baking. Sometimes, heat distribution can cause uneven puffing.
- Shape Consistently: Keep your rounds of dough roughly the same size. This helps with even baking.
- Keep Warm: If you make a large batch, wrap them in a towel while baking the others to keep them warm.
Tried this recipe?
Let us know how it was!Frequently Asked Questions
1. Can I use instant yeast instead of active dry yeast?
Absolutely, instant yeast can be used in place of active dry yeast. There’s no need for proofing; just mix it directly with your dry ingredients.
2. How do I know when my dough is ready to rise?
Your dough should be nearly double in volume. It should feel smooth and slightly tacky to touch.
3. Can I make pita bread gluten-free?
Yes! Use a gluten-free all-purpose flour blend. Be aware that results may vary, but many blends work well for this recipe.
4. How can I add flavor to my pita bread?
Consider adding herbs like oregano or thyme directly into the dough or incorporating spices like cumin for a unique twist.
5. What is the best way to serve pita bread?
You can cut them in half for pocket use, slice into triangles for dipping, or serve whole alongside your favorite dish.
6. Can pita bread be made ahead of time?
Yes! Pita bread can be made in advance and stored. You can reheat them before serving to regain that fresh taste.
Conclusion
Making homemade pita bread is not just about creating a fluffy pocket; it is a multifunctional culinary canvas. Each bite tells a story of warmth and comfort. It’s easy to whip up, versatile in usage, and ultimately rewarding.
Whether you’re planning a dinner party or a cozy family meal, homemade pita bread is a highlight that never disappoints.
Give it a try! You might find yourself falling in love with the process and planning your next culinary adventure. Happy baking!