Ingredients
Equipment
Method
- We’ll break this process into manageable steps. Bologna’s got nothing on the beauty of freshly baked baguettes. Let’s roll our sleeves up and dive into the process.
Step 1: Prepare the Poolish
- Start with the night before you want to bake. Combine the 150 g of unbleached flour, 0.15 g of instant yeast, and 150 g of filtered water in a bowl. Stir until it’s well mixed, then cover this bowl with plastic wrap. Let it rest at room temperature for 12-16 hours until it becomes bubbly and has risen.
Step 2: Mix the Final Dough
- On baking day, grab your poolish starter and mix it into a large bowl. Add 230 g of lukewarm water, 5 g of honey, and 8 g of olive oil. Mix until combined. This is where the magic begins to happen. Add 350 g of bread flour and 10 g of fine sea salt. Blend everything together using your hands or a wooden spoon until a sticky dough forms.
Step 3: Kneading the Dough
- Transfer the dough onto a lightly floured surface. Knead it gently for about 10 minutes until it feels smooth and elastic. Remember, we want to develop those gluten strands without overworking the dough.
Step 4: First Rise
- Once kneaded, place the dough in a large, greased bowl. Cover it with a damp cloth or plastic wrap and let it rise for 1-2 hours, until it doubles in size. This is the dough’s “nap time”.
Step 5: Shaping
- After the first rise, gently deflate the dough by pressing it down. Divide it into two equal pieces. Shape each piece into a baguette by flattening it into a rectangle, then folding in the sides and rolling it up tightly.
Step 6: Second Rise
- Place the shaped baguettes on a floured baguette mat or a baking sheet lined with parchment paper. Cover them lightly and let them rise for another 45-60 minutes. During this time, preheat your oven to 450°F (232°C) and place a baking stone or an inverted baking sheet inside to heat up.
Step 7: Scoring
- When the baguettes have puffed up, it’s time to score those lovely tops! Use a sharp bread lame or a knife to make diagonal slashes on each baguette. This allows steam to escape during baking and results in a beautiful crust.
Step 8: Baking
- Spray water into the oven right before you place the baguettes in. This steam creates that desired crusty exterior. Bake for 20-25 minutes until golden brown and hollow when tapped on the bottom.
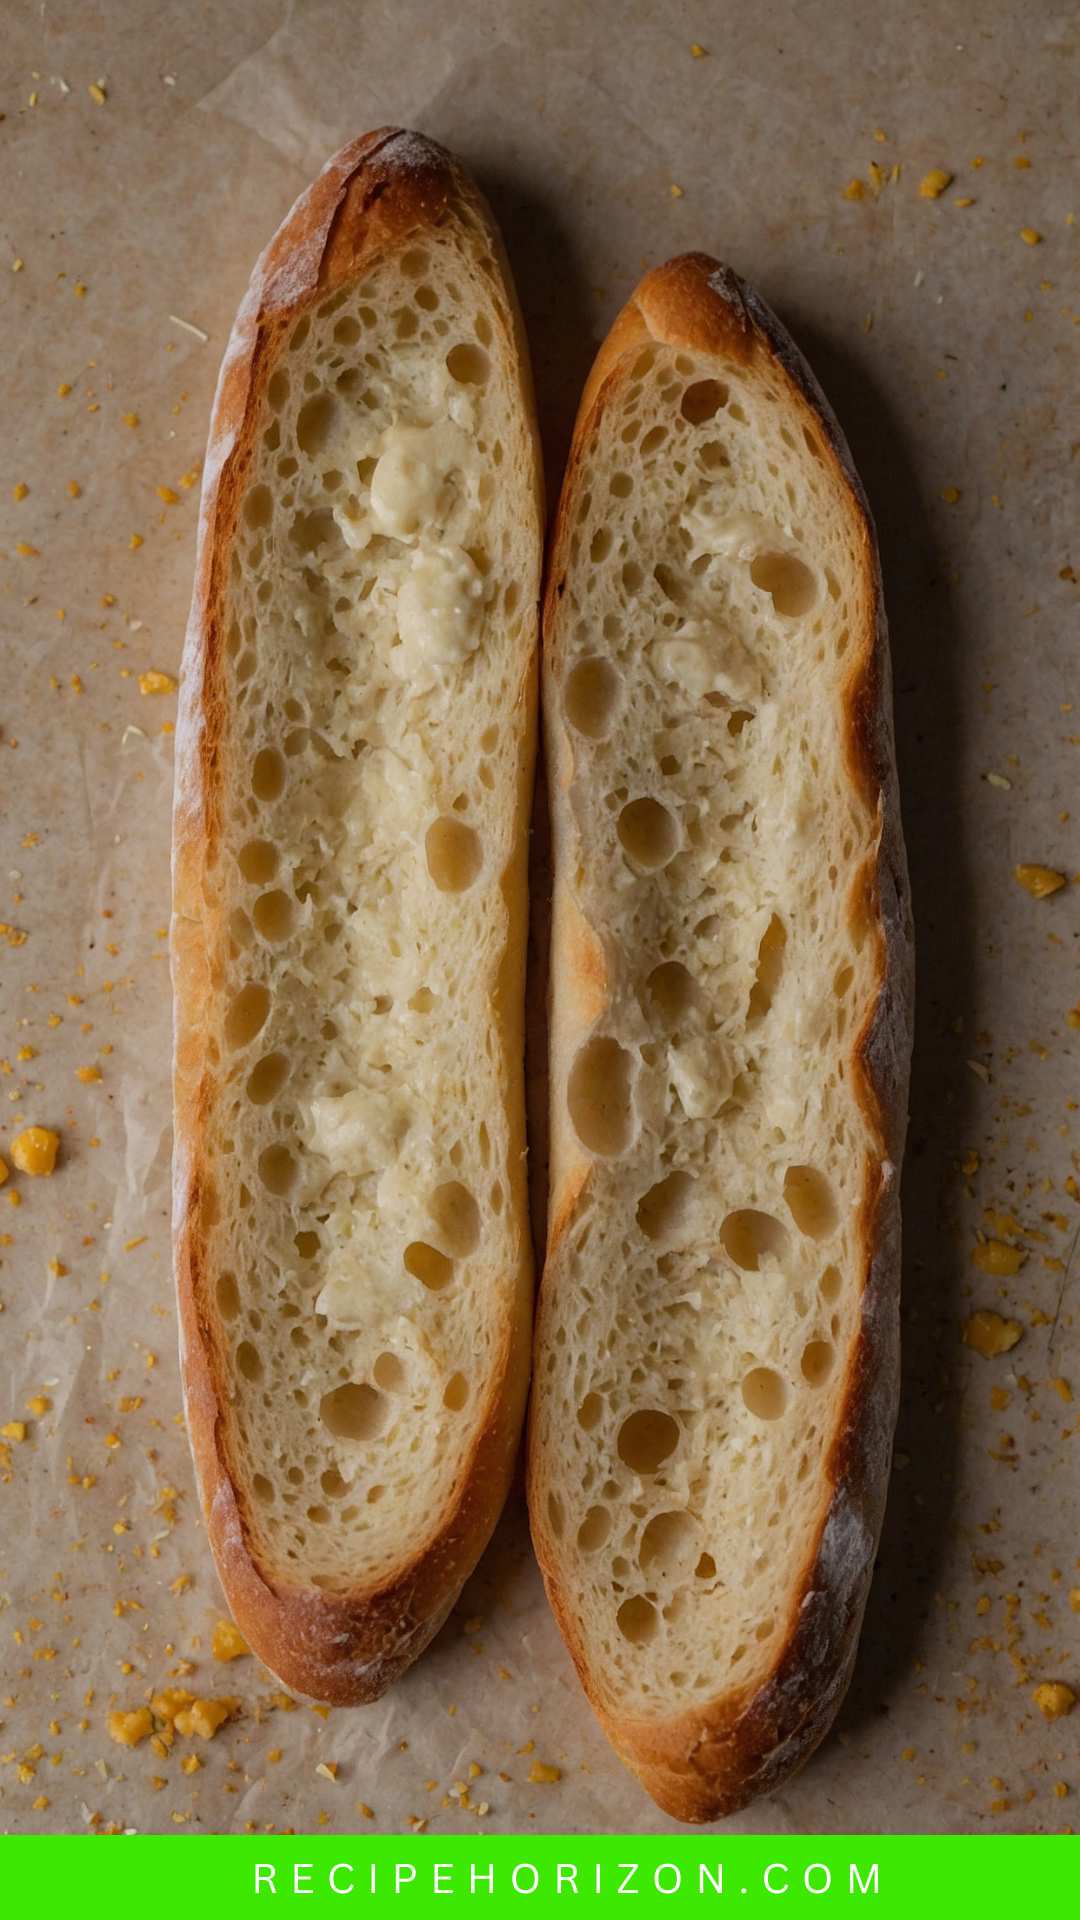
Step 9: Cooling
- Remove your baguettes from the oven and let them cool on a wire rack. Try to resist the urge to slice into them immediately. Let the flavor develop.
Nutrition
Notes
- Hydration Is Key: The wetter the dough, the better the crumb texture. Don’t be afraid of sticky dough!
- Gentle Handling: Handle the dough lightly. Avoid deflating it too much during shaping.
- Temperature Matters: Ensure your water is lukewarm for proper yeast activation.
- Experiment with Flour: You can try different flours to achieve various flavors and textures.