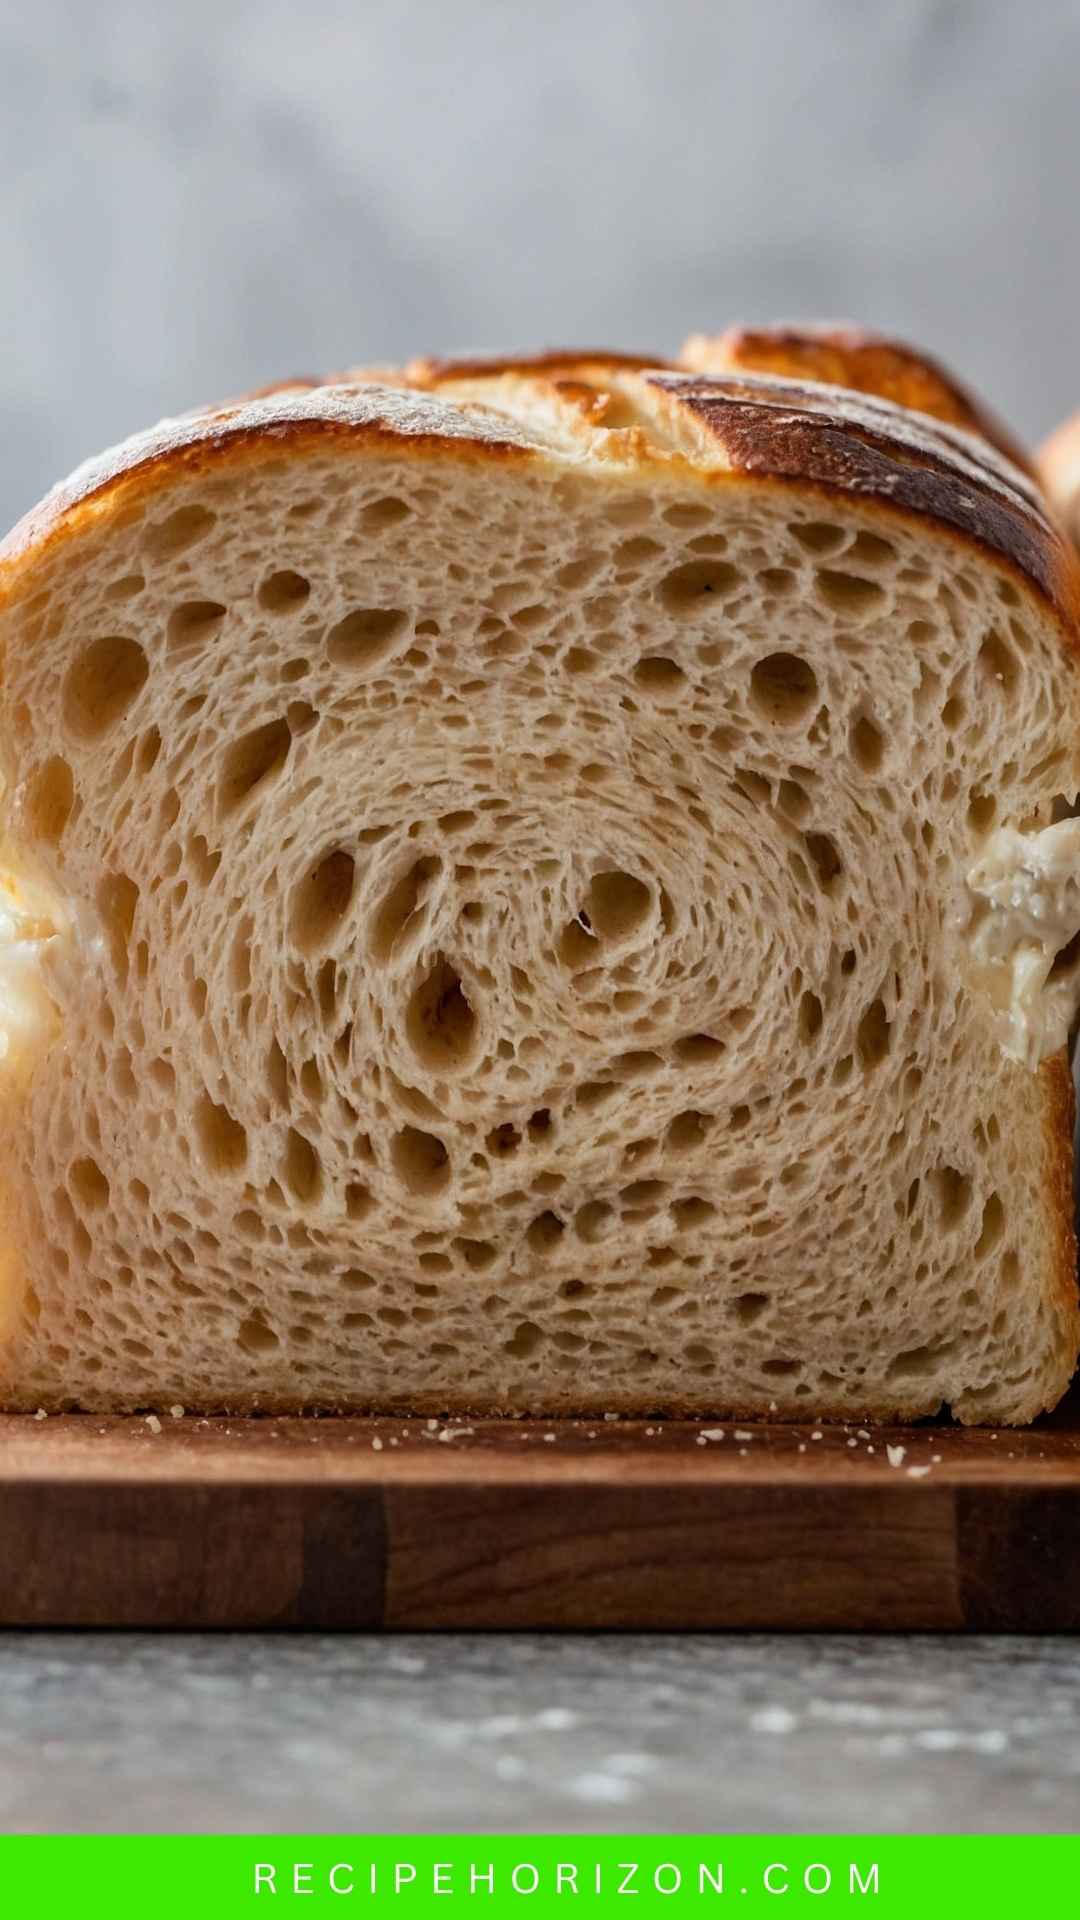
Ingredients
Equipment
Method
Step 1: Gather Your Tools
- Begin by gathering all your ingredients and tools. You’ll need a mixing bowl, a wooden spoon, a kitchen scale (for accuracy), a dough scraper, and a loaf pan.
Step 2: Mix the Ingredients
- In a large mixing bowl, combine the water and sourdough starter. Stir until incorporated. Now add the flour and salt. Use your hand or a wooden spoon to mix until no dry flour remains. It might seem a bit shaggy; that's normal!
Step 3: Knead the Dough
- Transfer the dough onto a clean, floured surface. Knead the dough for about 10 minutes. You’re looking for a smooth, elastic texture. If the dough is sticking too much, sprinkle a little flour as you go. Play with it; this is where the fun begins!
Step 4: Bulk Fermentation
- Place your kneaded dough back in the bowl, cover it with a damp towel, and let it rise at room temperature for approximately 4 to 6 hours. This is the bulk fermentation phase. Keep an eye on it; give it a gentle poke—the dough should spring back slightly.
Step 5: Shape Your Loaf
- Once your dough has risen, turn it out onto a floured surface again. Gently flatten it, shaping it into a rectangle. Fold the edges towards the center, then flip it over and tuck those edges in. Place the seam side down in your greased loaf pan.
Step 6: Final Proofing
- Cover the loaf with a towel, letting it proof for an additional 2 to 3 hours. During this time, it should puff up nicely! This allows the flavors to develop further.
Step 7: Preheat the Oven
- About 30 minutes before you plan to bake, preheat your oven to 450°F (230°C). Place a small oven-safe dish filled with water on the bottom rack to create steam. Steam is your friend; it keeps your crust crunchy!
Step 8: Bake the Bread
- Once the oven is hot, score the top of your loaf with a sharp knife or a razor blade. This allows steam to escape and gives your bread a lovely shape. Bake for 25 to 30 minutes until the crust is golden and crispy. The internal temperature should reach about 200°F (93°C).
Step 9: Cool and Slice
- After baking, let your loaf cool on a wire rack. This step is crucial—don’t slice it too soon, or you’ll lose that perfect texture. Once cooled, grab a serrated knife and cut yourself a slice. Dive in!
Nutrition
Notes
- Use a Scale: Weighing ingredients ensures accuracy. A small change can affect your result.
- Starter Boost: Feed your sourdough starter the night before baking for maximum activity.
- Develop Flavor: For deeper flavor, let the dough rise slowly in the fridge overnight.
- Watch the Crust: If your crust is browning too quickly, cover it with foil during baking.
- Experiment with Add-ins: Try seeds, nuts, or herbs for a unique twist!
